Click Here For Free Blog Backgrounds!!!
Blogaholic Designs

10.25.2012

Halloween Projects


So this will be one of those evolving posts, since I've got several projects in the works.

This year we will be celebrating Halloween night in our own neighborhood for the first time.  We'll be home handing out candy for a lot of the night, but at some point we are going to take our own little Avengers out trick or treating.  While we're away, I am going to put out my bowl of sweeties and this little note:
After Mike read it, all he had to say was: "You're a dork."  Indeed, dear.  Indeed.

10.08.2012

Ready, Set, VOTE

Kitchen Colors:

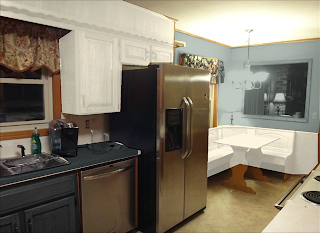
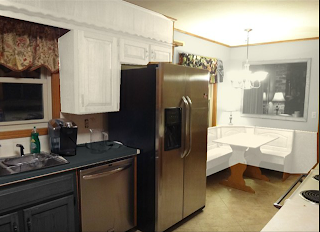
Note the cabinet colors...  Or should I keep the wood?
1

2

3

4

5

6

7

8

9

10

11

12

13

Kitchen

So we know my lovely 1970s ranch came with a glamorously updated kitchen.

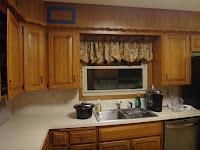
Almost said that with a straight face.  Here's some pics of what I'm working with...  Or in other words, BEFORE:


Actually, I like the floors.  And my beat up black Toms.


STEP ONE:
Rip out the backsplash!!  Get lots of help from your family!!


Step TWO: Find this underneath!


Step THREE: New Skim Coat.  Yes. It is pink. That's how I roll.


Now, about that range...


6.08.2012

Front Door Side Window Thingy's

BEFORE
AFTER
Yeah. I still don't know what they're called. But mine have been covered by a very lovely paper shade for many months.

I started pricing window coverings forever ago. It's friggin' impossible to walk into a store and buy them off the shelf and the cheapest I could order were nearly $80. Nope.

So I trekked down to the nearest trading post and began scheming. (I walked aimlessly around Hobby Lobby for 2 hours.)

Here's what I ended up with:

2 oversized red buttons
Yarn
A sewing kit
5 yards of linen colored batiste (at a whopping $3/yard!)
A dowel rod

Grand total: $27


Step One: cut dowel rods to fit inside the windows.

Step Two: Cut fabric in half lengthwise.

Step Three: Measure out the length of your window, plus 1 inch. The extra inch is for the fun of it. Place your dowel rod on the mark.


Step Four:  Staple the sides of the fabric to the ends of the dowel rod. Staple straight or you will have to redo it! So I hear. I've also used hot glue instead of staples. Anything to not have to sew.


Step Five: Wedge the dowel rod into the frame with the staples facing the top.


Step Six:  This is the fun part! Tie the front layer in a knot. Or gather it together and bind it with a tassel. A bow. Or a giant red button! I "sewed" it on with yarn.


Step Seven: Rinse and repeat!


3.31.2012

Tiles=Tired

Floors!  I spent months trying to identify what kind of floors I had. I even posted a picture and thank the facebook gods my friend Ross was able to tell me I had terrazzo tile floors.  (Thanks, man.  Though I doubt your reading because you're not a let's-read-about-decorating-your-house kind of guy.  You're a I'm-in-the-Coast-Guard-and-I-can-fix-your-transmission-and-your-sink kind of guy.)  So then once I knew what I had, I started researching how I could clean a very yucky rusty brown stain from what I think was potted plant.  It's impossible.  The internet scoffed and laughed and responded with a maniacal, "The stain stays, kid." You can check out close-ups of the awesomeness here.


Fine.  New floors.  


Erm.  This is the part where months went by as I tried to decide what to put down.  Hardwoods (like we want to eventually lay in the entire downstairs)? Laminate wood (that's in the adjacent living room)?  Tile (like in the kitchen, laundry areas)?  Or something unique to the entry (marble, travertine, concrete, the possibilities were endless)?


Finally, I landed on the tiles that are in our kitchen.  They are neutral enough to go with anything, and hide dirt really well. Not that I would know because my house is always clean. (Note the heavy sarcasm.)


So, next up. Call Dad.  What?  You thought I would just jump in and do it?  Not this time, folks.  If red paint is scary, tile jobs are the Dr. Who Halloween episodes (crying angels!!!!). 


Dad and I spent a total of 12 hours doing this:


Lookey! A bunch more pictures!


So glad that little project is done!

Thanks DAD!

For a reminder...

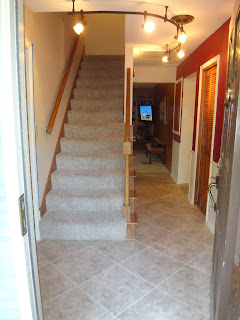
BEFORE


AFTERish